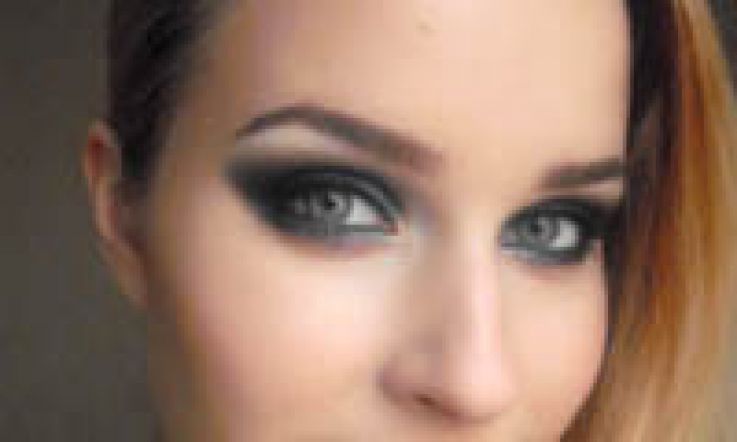
How To: A Peacock Inspired Eye with a Smokey Twist

This look is perfect for those of you who want to wear bold beautiful colours but a full-on rainbow eye is a bit too much. The dark background colours make the jewel tones a lot more suble but in certain lights really makes them pop. Perfect for when you want to wear your little black dress out and wear the colour on your eyes instead. Remember, you can use any colour combination you fancy, and feel free to use any products you may already have.
1. I began with my trusted UD Primer Potion all over the lid. Next, to create a dark background I used 24/7 Glide On Pencil in Zero (black) eyeliner by Urban Decay all over the lid and blended out with my fingers. As an alternative to a soft pencil you can use any dark cream shadow or a Mac paintpot, anything goes. This does not have to be neat.
2. Taking a blending brush and Print eyeshadow by Mac, I began mapping out the crease area and creating the shape I wanted to have. Take your time with this step, and don't be afraid to take another, clean blending brush to help get a really nice soft edge, because if this part of the shadow is sloppy, the whole look will look half-hearted.
3. Now for the fun part! Take your favourite flat shader brush, and any deep slightly shimmery navy/royal blue colour, I used Inglot #428. I applied this to the outer corner on top of the liner base, making sure you can still see some of the Print colour on the outer edges.
Advertisement
4. Next, on the same brush (it's wise to use the same brush for these bright colours as it's easier to blend them together later) I took another Inglot colour #439 and packed this onto the middle part of my lid. To blend the blue and purple together, keep going over where the two colours meet, so blur out the harsh line. This is easy enough to do as the colours
are frosty, but don't take a clean blending brush as it's going to take away the brightness of the colours.
5. Using the side of the same flat shader, I took a teal colour from the Bed Head 4Play Quad in Drama Queen and applied this in the same method to the inner corners. You cant really see it in the picture here because it got really cloudy but I have flash photots at the end where you can see the full effect. Don't forget to do the lower lashline with the same colours and dont be afraid to blend down a little further than normal - I mean, if you're going to go this far you may as well go the whole way!
6. The area near the bridge of my nose tends to get very dark so I always like to add a light shadow in here, I used Inglot #351 and just on the tear duct a little bit of #30. I highlighted under the brow with 351 also. Make sure the brow highlight is a matte colour, another shimmery one would look too messy.
Advertisement
7. Instead of liquid or gel liner I decided to use a matte black (Inglot #63) on an angled brush, pushed into the lashline and winged out slightly. This is a great alternative for those of you who have trouble mastering the dreaded liner, and it can in fact look a lot sexier as it's softer and sultrier.
8. I applied some of the Zero liner on the waterline (lower and upper) and a couple of coats of Catrice mascara. Lashes are optional with this look, they would look great but I felt like I was compromising the lovely colours with big lashes so it's completely optional.
On my cheeks I wore some Benefit High Beam and Bourjois Delice de Poudre Bronzer and skipped blush altogether as the eyes are quite dramatic.On my lips I used OCC Liptar in Hush and Bourjois 3D Lipgloss in #61 Brun Poetic.
Products and brushes used.