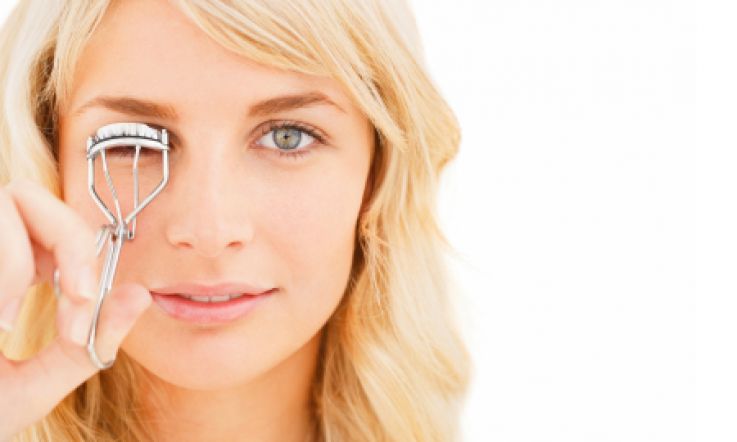
Beaut.ie DIY: Make your own heated eyelash curlers

Ah, eyelash curlers. Great yokes, aren't they? Used properly without being clamped down too tightly and causing a kink (mmm, crimped lashes!), they open peepers right up. Most households probably have at least one metal eyelash curlers mouldering away at the bottom of a make-up bag, because even in a school with a strictly enforced no make-up policy there was shag all they could do about curled eyelashes and a lick of Collection 2000 clear mascara. (Take that, Ms. Doyle!)
Well dig those metal laddies out for reinvention as heated eyelash curlers, to give an even more impressive and defined curl that'll last for ages. Just blast them with a hairdryer on a low heat setting for a couple of seconds or leave atop a warm radiator before using, et voilà - world's cheapest new curlers! ALWAYS test the heat of the curlers on the inside of your forearm before going anywhere near your face, because a scalded eye area is not a good look.
And for anyone who's a bit rusty on the actual mechanics of using an eyelash curlers (or is wary of putting a metal torturous looking contraption near their peepers):
Advertisement
- Use after applying eyeshadow and liner but before applying mascara, as using after mascara can cause lashes to break or stick to the pads of the eyelash curlers and be reefed out by the roots.
- Open the curlers fully, make sure all your lashes are within the "mouth" of the curlers, and gently squeeze closed near the base of the lashes. Don't try to get right in to the roots or you risk pinching your eyelid which is really bloody sore, and don't pull away from the eye as you curl to avoid inadvertantly pulling out any lashes.
- Hold for 10 - 30 seconds.
- Open the curlers fully before removing carefully from lashes.
If your lashes are particularly straight, you should try curling them in three stages - near the roots, at about the halfway point, and again about three-quarters of the way along their length.