
This has to be one of my favourite topics to talk about. Since studying make up and working in the industry for the last eight years, there is nothing I love more than creating a perfect brow for my clients.
Brows are probably one of the most important features on the face. The psychology behind it is that naturally we are drawn to symmetry. Humans are hardwired to perceive symmetry with beauty. Take Audrey Hepburn, for example. If you were to look at her face and draw a vertical line down the centre of it, if would be almost a mirror image of itself.
When our brows are perfectly symmetrical, we create the illusion of our face being symmetrical and therefore indirectly create the illusion of ourselves being more beautiful.
With that in mind, here is a step by step guide to creating the perfect brow for your features at home.
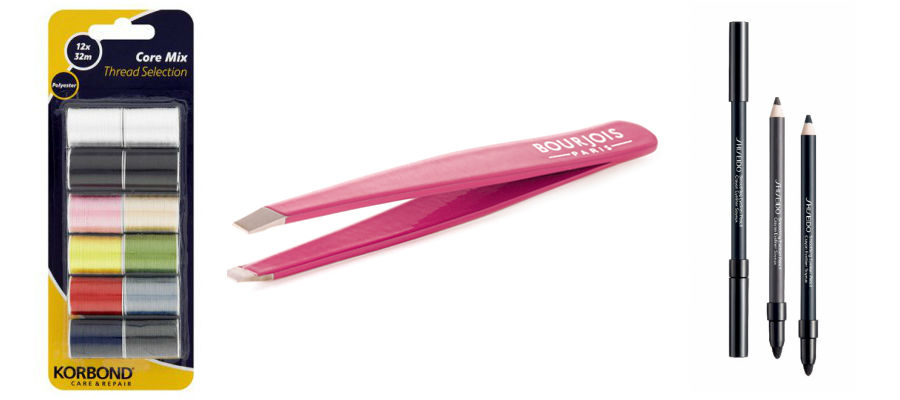
- What you will need:
Thread
A sharp black pencil
Tweezers
- Step 1
Take your thread, and measure your starting point. From the “ball” of the nose, this is the rounded part at the tip (before the nostril). Run the thread directly upwards toward your forehead in a straight line. With a sharp brow pencil, mark a vertical line at the beginning of the brow.
- Step 2
Hold your thread at the outer nostril and run it directly upwards to hit the side of the outer eye. Mark the end point of the eye brow with your pencil.
- Step 3
From the outer nostril again, measure the arch of the brow. If you can think about your brows as being split into three, the end point and the arch point should always make up one-third of the overall brow.
Advertised
- Step 4
Taking your thread again, and holding it horizontally this time, measure the starting point from the bottom of the brow, to meet the highest point (arch). Use the thread to create your straight line, by pushing it in to the skin. When you remove the thread, you should still be able to see the mark from the thread. Use it as a template to draw your straight line with your pencil.
Tip: If you're finding it hard to draw a straight line use q-tips and eye make-up remover to help you.
- Step 5
From your bottom measurement, move the thread parallel to get your measurement for the top of the brow. This should make up two-thirds of the whole brow. Again, push the thread into the skin, and use the line as a template to draw a straight line with your pencil.
- Step 6
Starting at the highest point of the brow, bring the thread down to meet the end point of the brow from the top. Again, push the thread into the skin as your template. Mark with your pencil.
- Step 7
The last point to mark on the brows is the bottom one-third till the end point. I like to do this one free hand, but use your thread if you’re more comfortable. The only thing I will suggest is that there should be a slight curve in the two-third mark at the bottom of the brow before you bring it into a straight line at the end point.
At this stage you should have a hollow version of what a perfect brow for your features should look like. So if you were to colour it all in, you would have the perfect shape brow for your face. If there are patches where you don’t have hair in that area, you should be focusing on growing it back and not removing it.
- Step 8
Take your tweezers and carefully remove all the hair outside of your measurements. Be so careful here. EVERY hair is so important. It takes a second to remove it, and months to grow it back.
- Step 9
Use a facial toner or make up remover to remove all your markings - your brows should look perfect at this stage. If you are working on growing areas back, pencil in where required.
Advertised
Hope that all made sense! Leave me a comment if you have any questions.

