

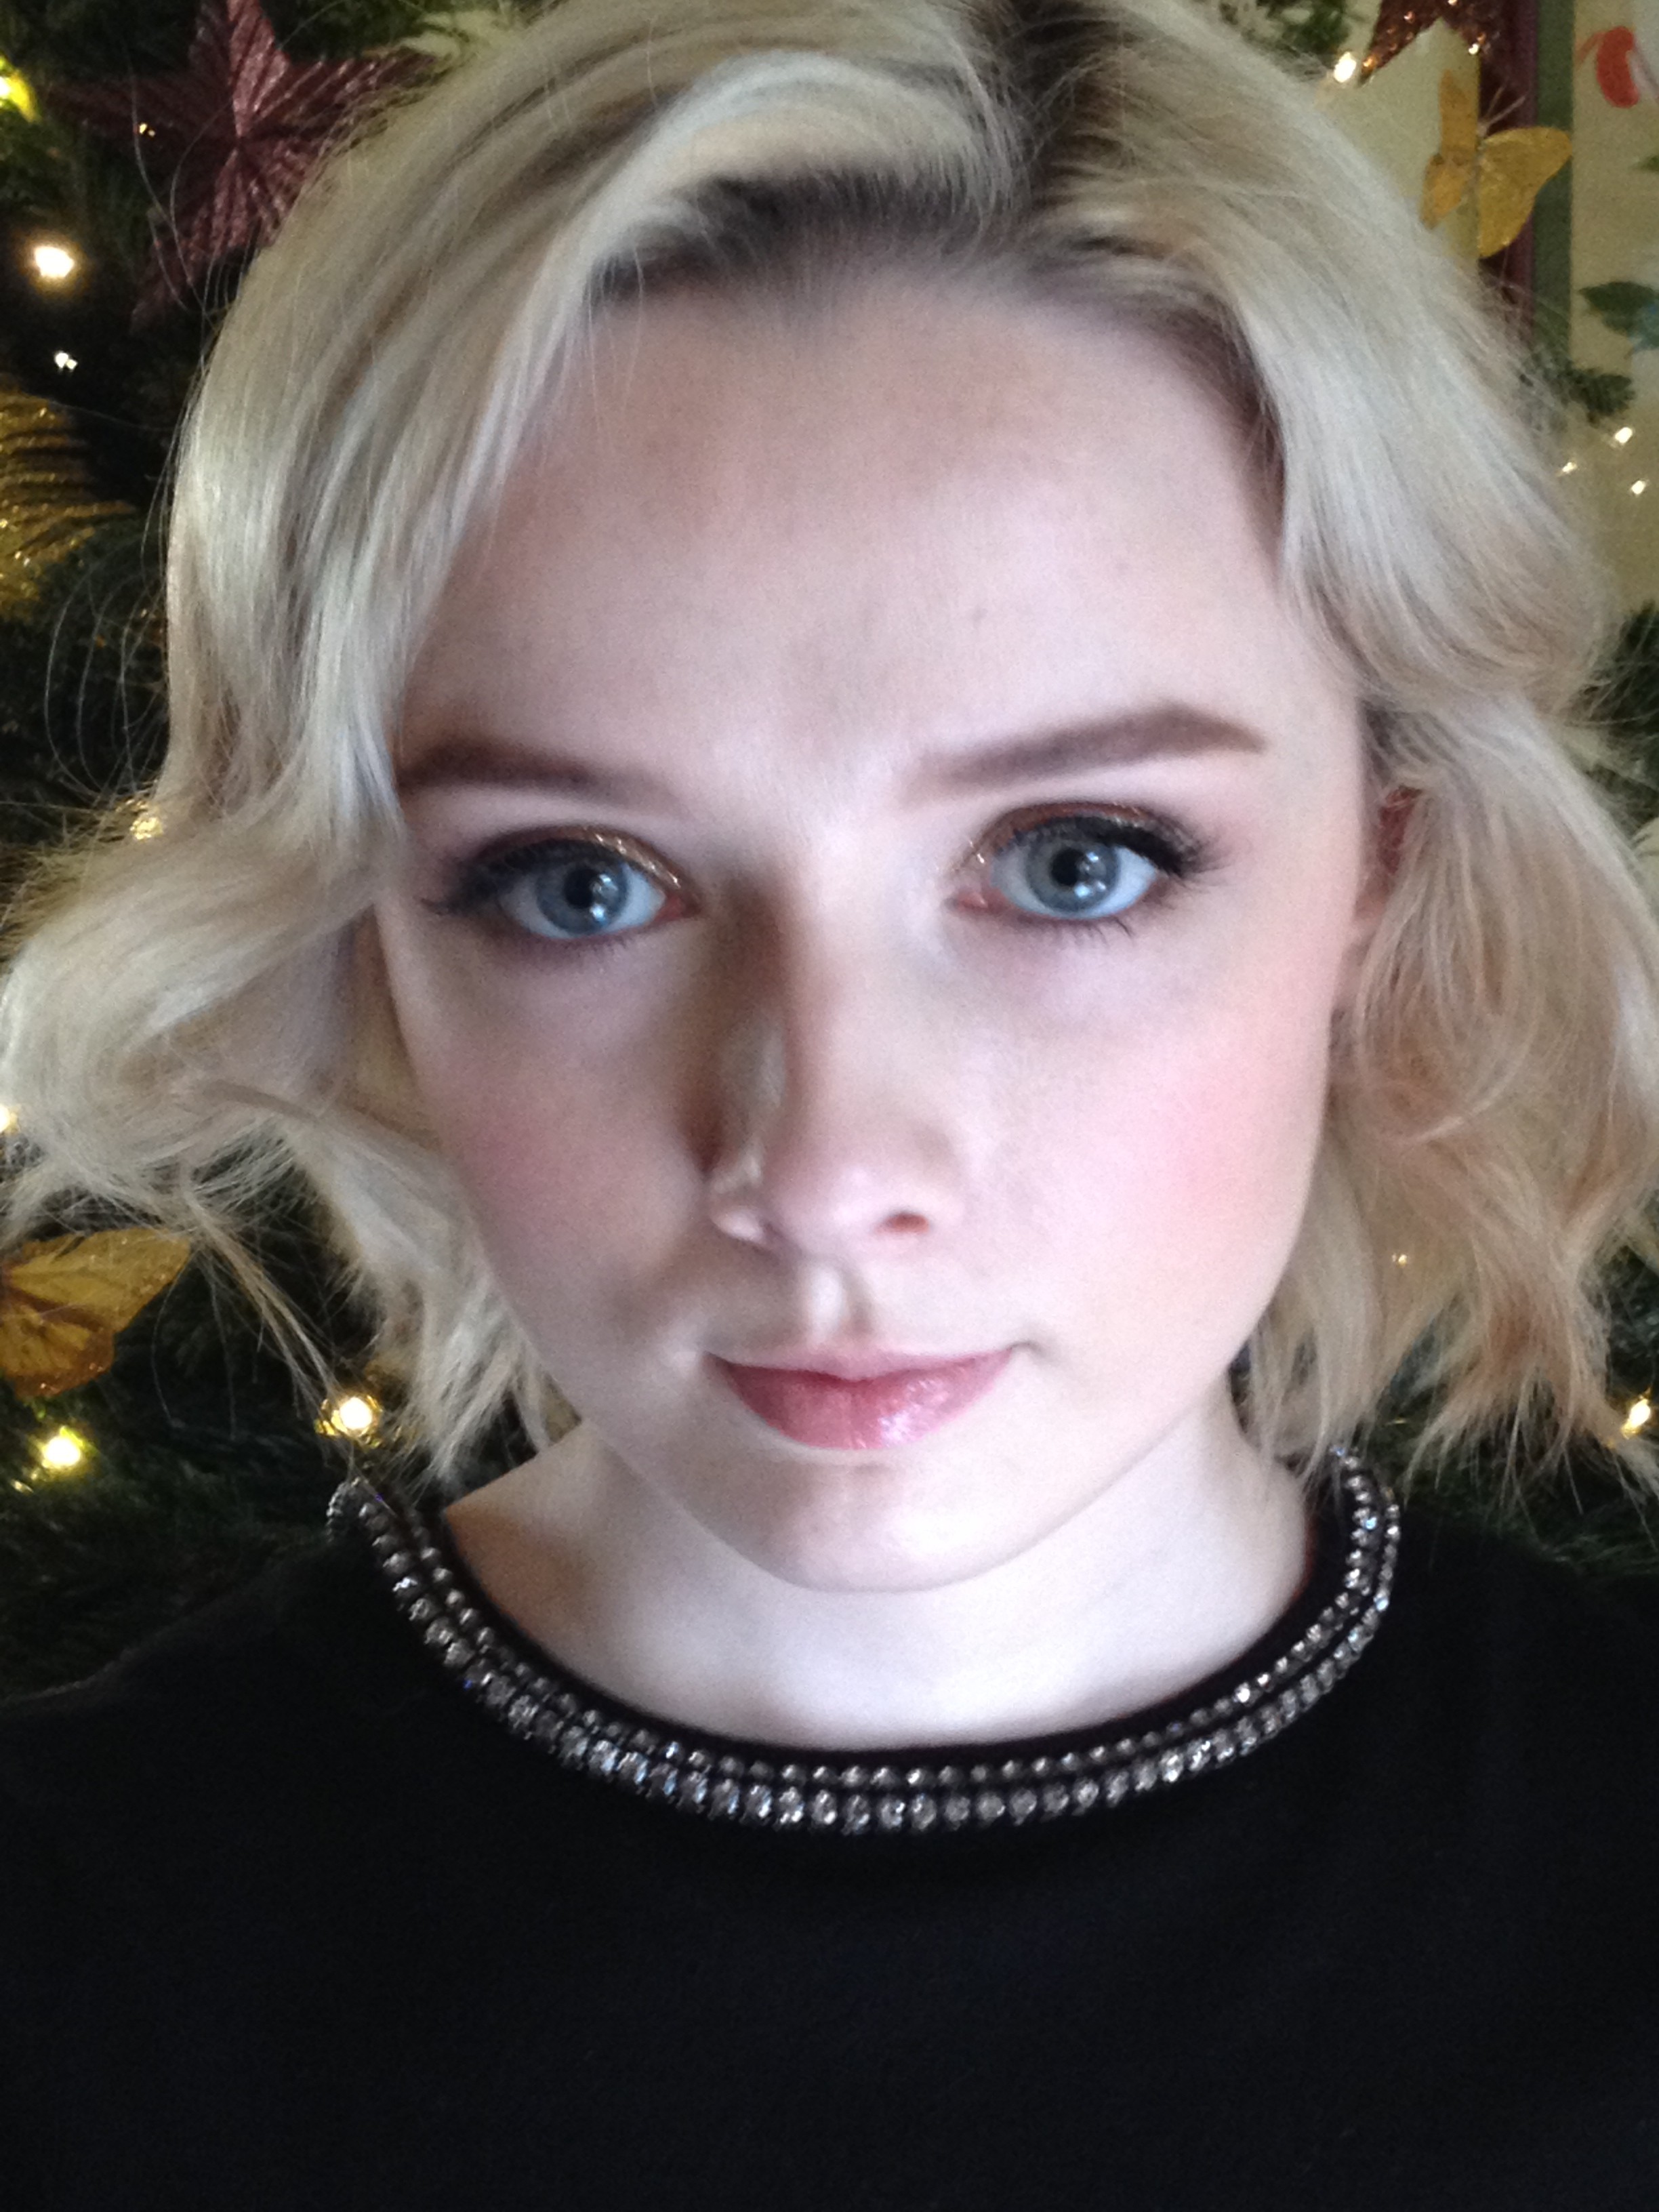
Christmas is getting nearer, and that means that we have to make the most of wearing far too much sparkle while we can! While admiring our Christmas tree the other day, it occurred to me that I'd been using it for Christmas makeup inspiration. The ostentatious, sparkly gold ornaments on the tree gave me the idea for a wearable golden eye that is perfect for the party season. Easy to do and just sparkly enough to make you feel festive, it's just right for Christmas.
Step One
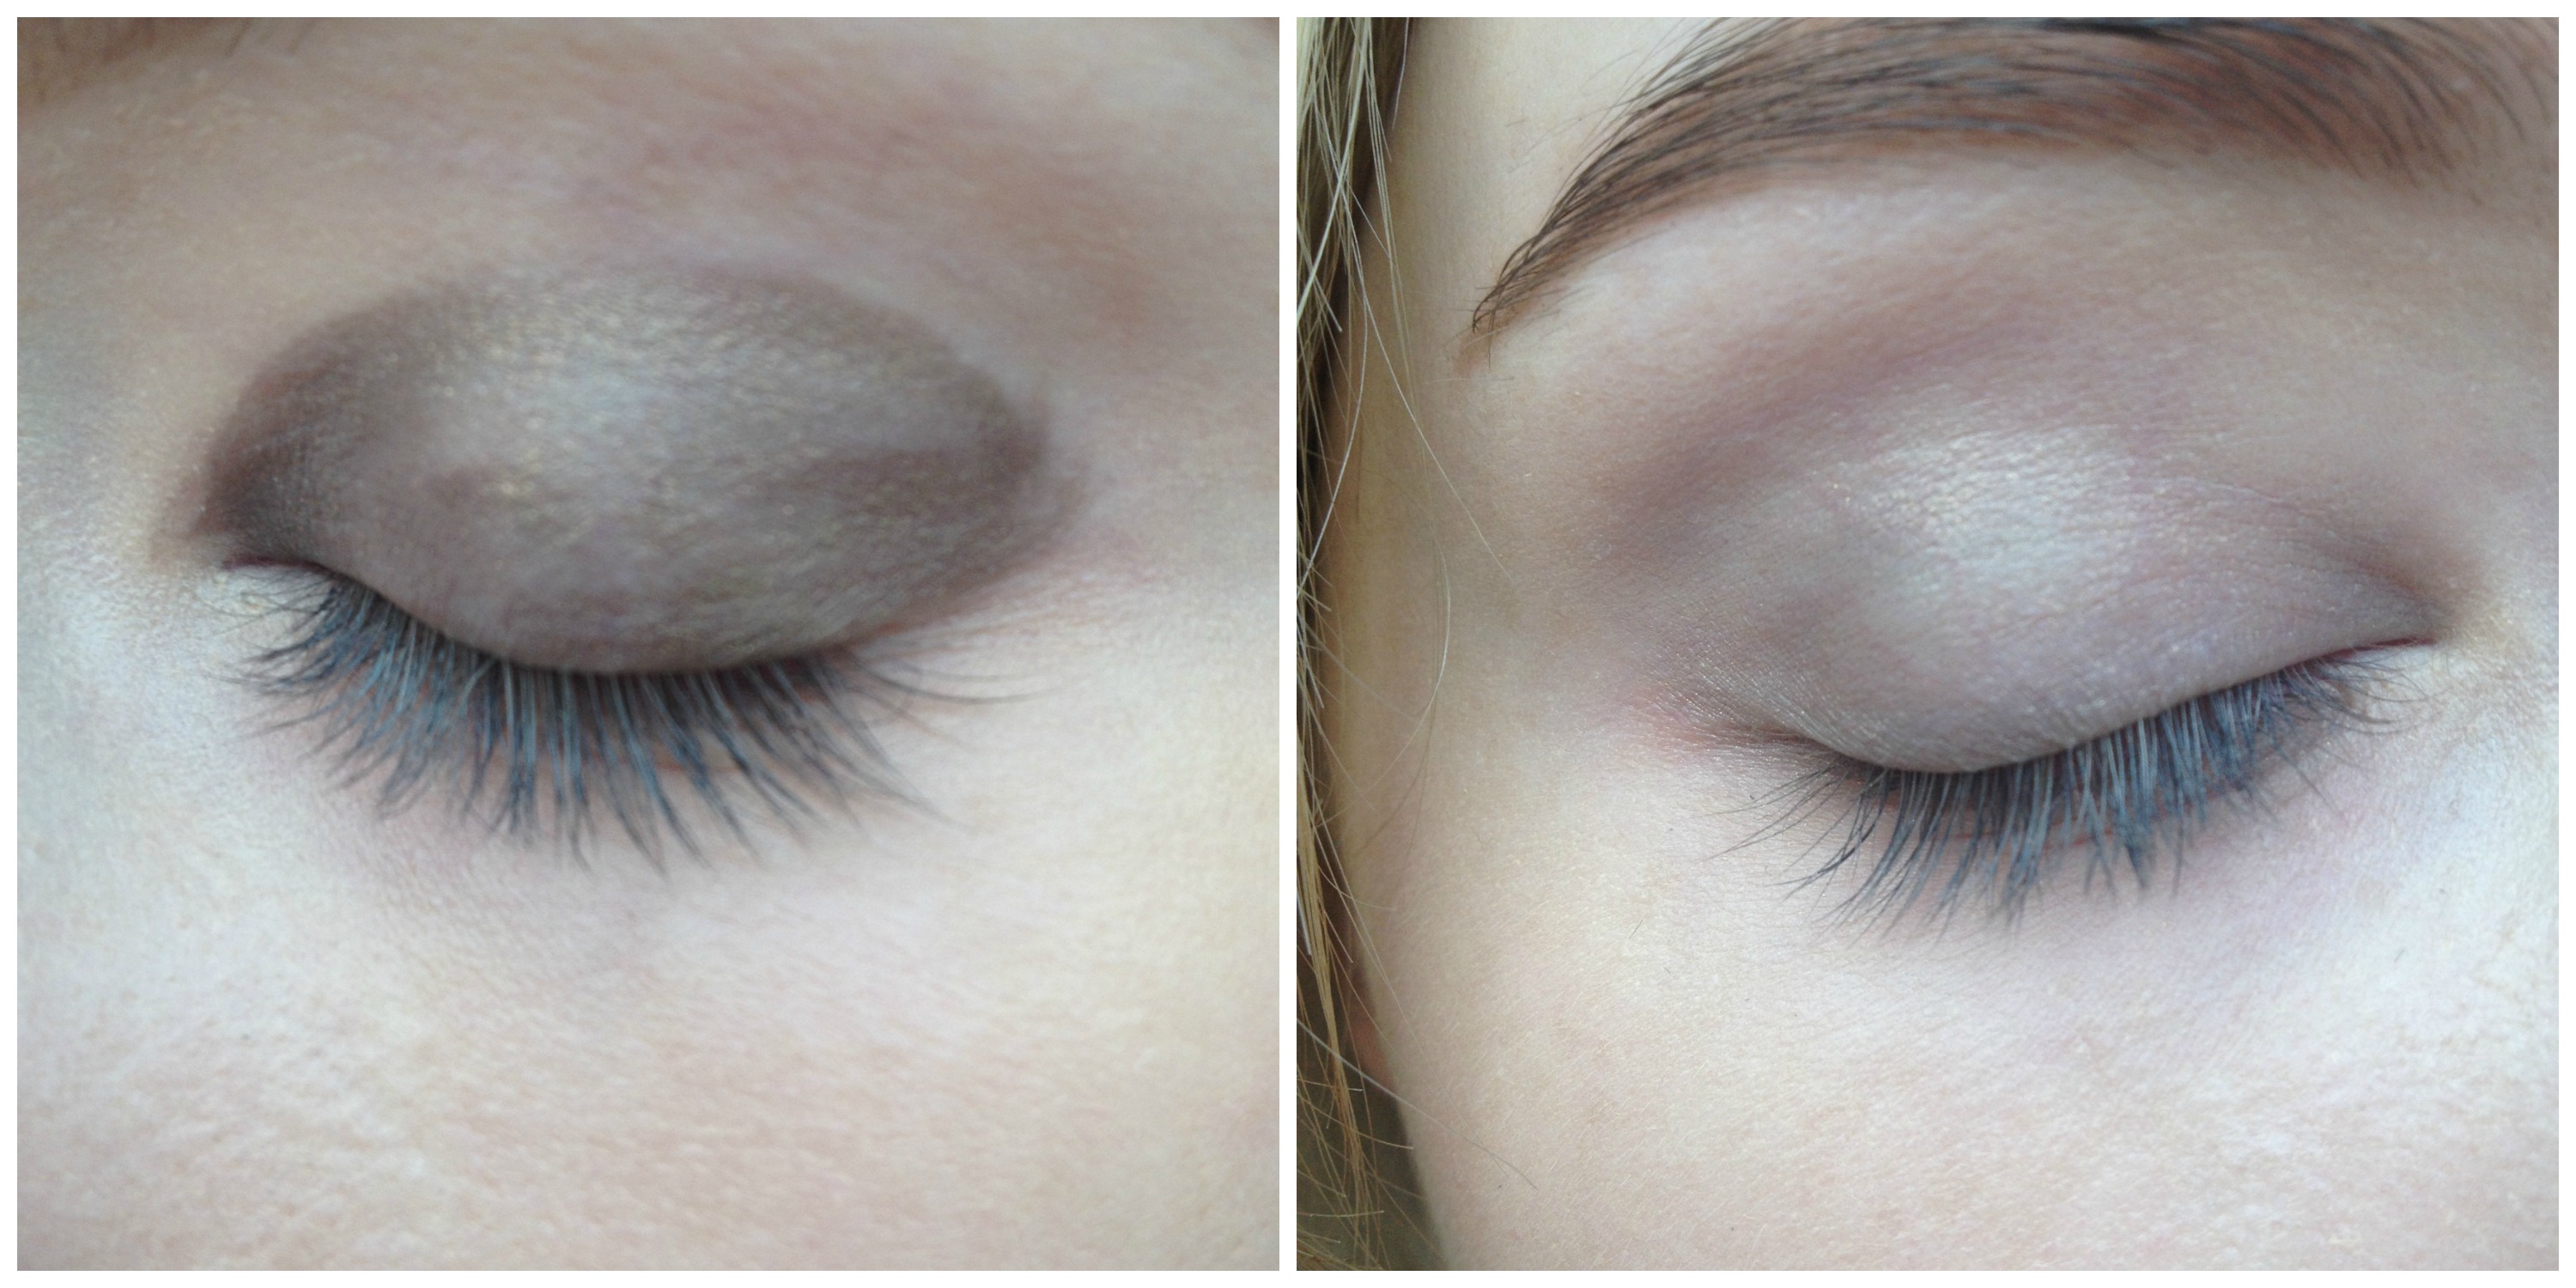
- I've applied some Mac shadow in Omega to my brows - I've chosen to go large and straight (but not unnatural looking) with them to help emphasise the eye. I've also applied my base using Mac Mineralize Moisture Cover Foundation in NC15. I think that fingers apply this product best.
- Any gold cream shadow will work as a base, but just to indulge my own laziness, I'm using an eye pencil. I've chosen Mac's eyeliner in Powersurge, a smoky antique gold. I'm drawing it onto the lid with the side of the nib so as not to poke my eye. I'm covering the whole lid with it, and I'm not winging it out at the outer corner - I'm keeping it to a rounded C shape.
- Take this under the eye too, and smudge all the liner with the pad of your ring finger until you have a soft wash of gold across the lid.
Step Two
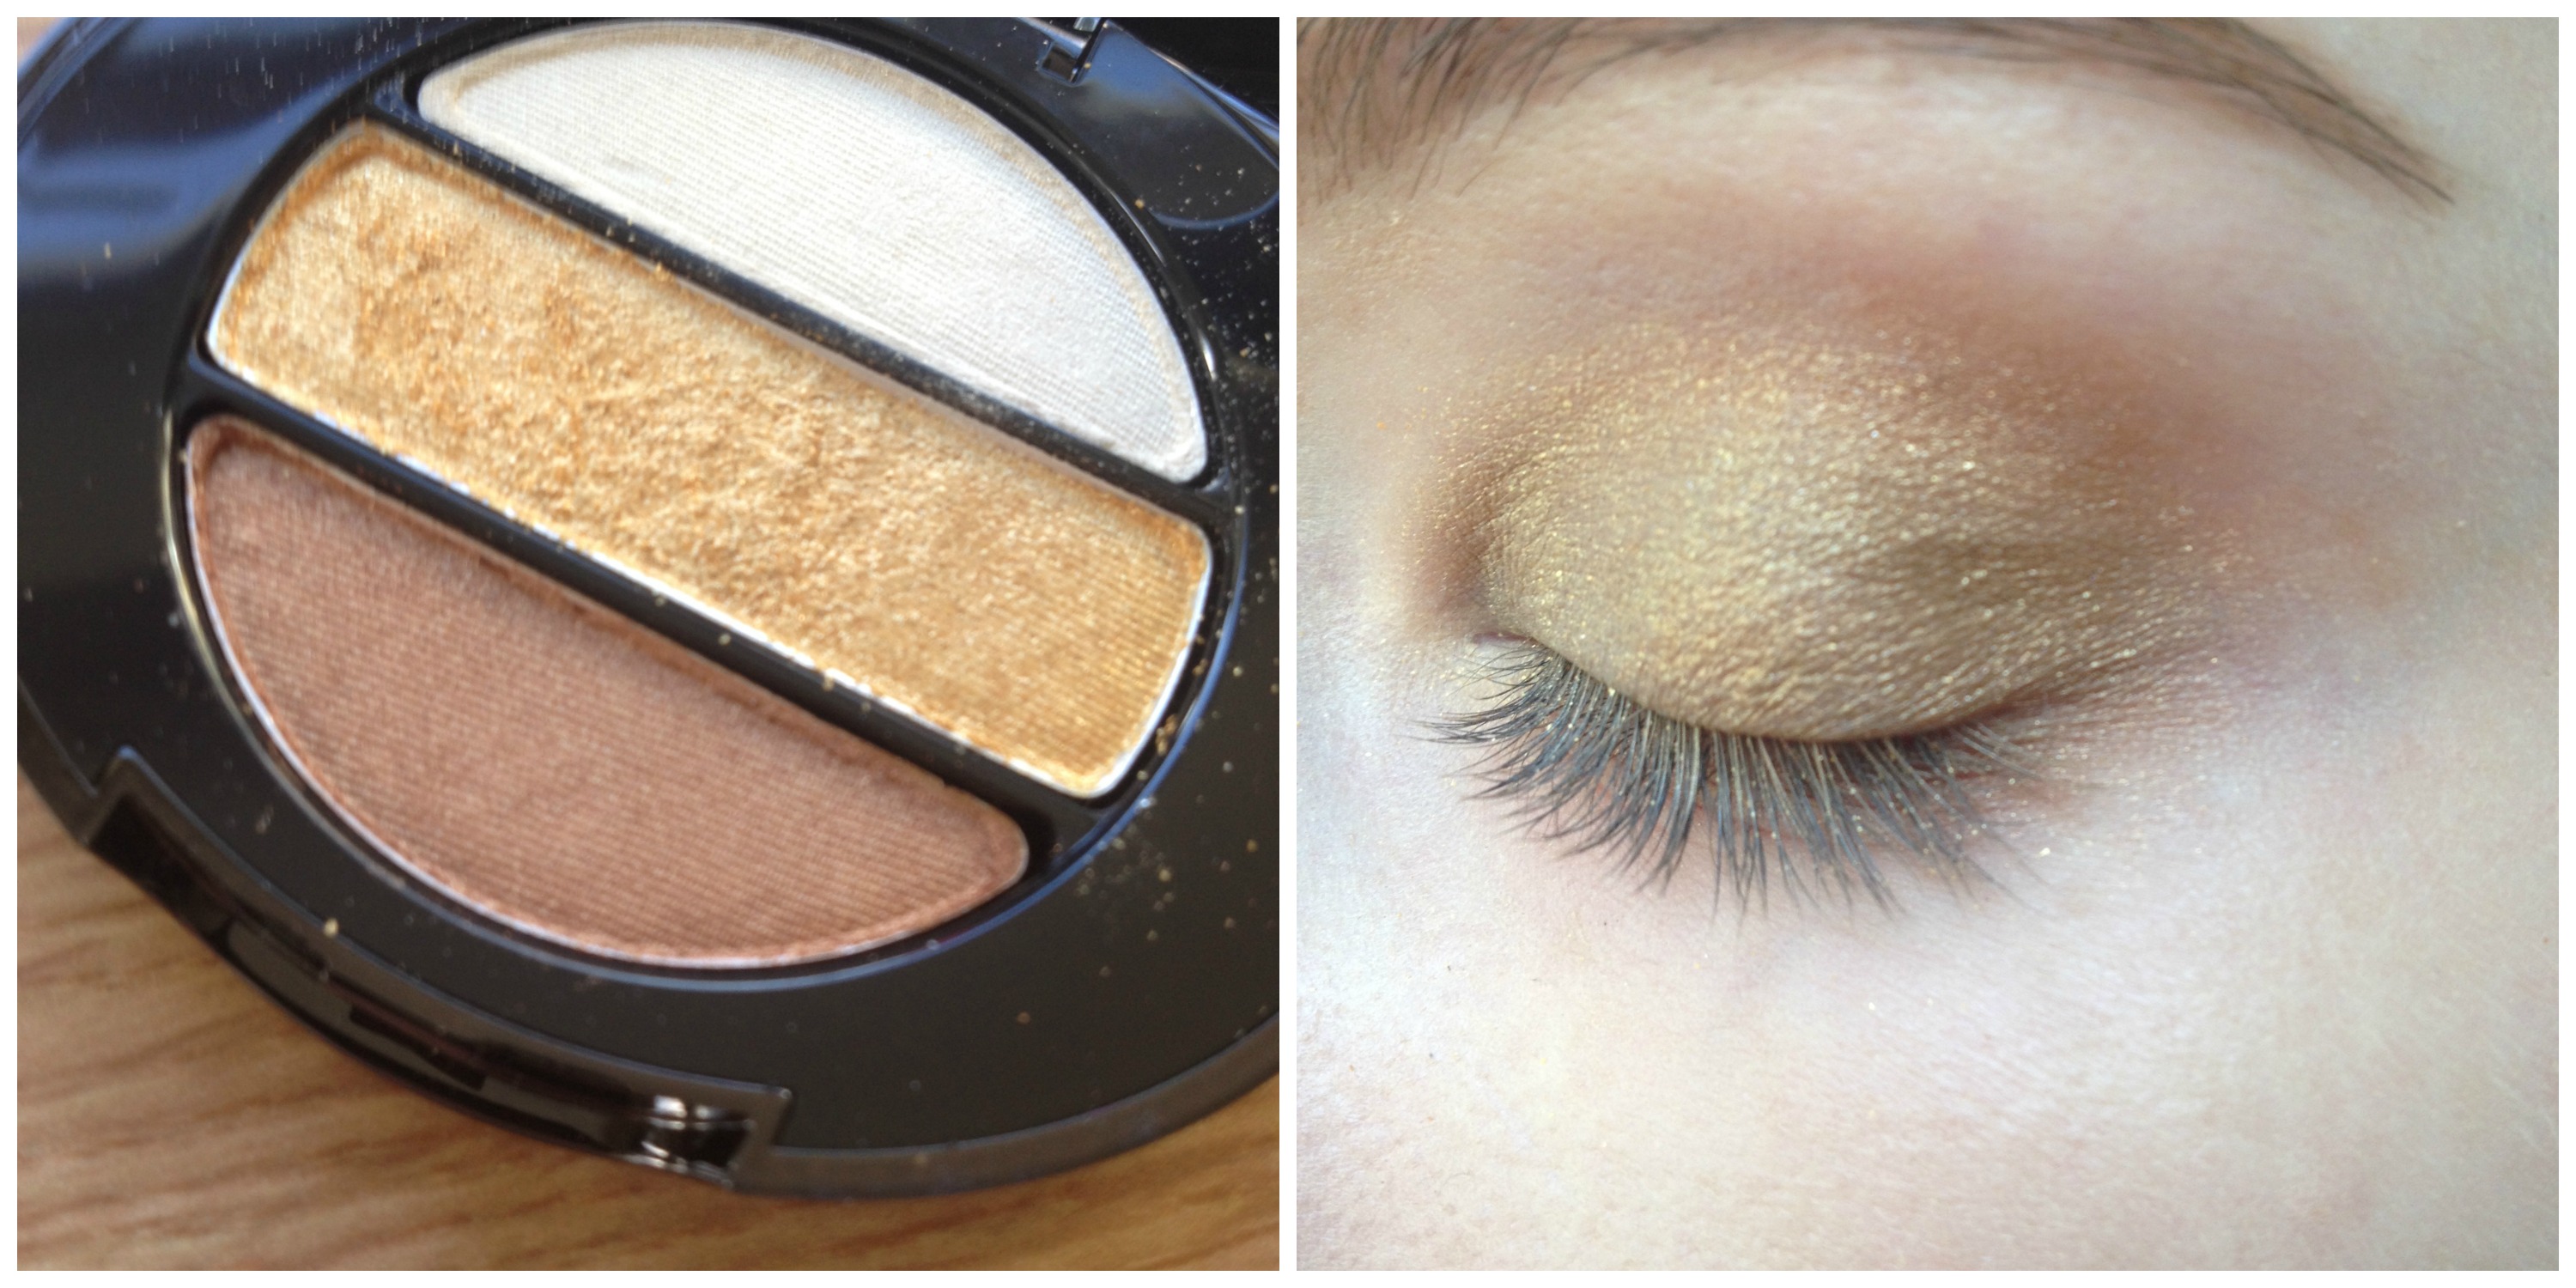
- Next, I'm taking No. 7's Stay Perfect Trio Eye Shadow Palette in Golden, and applying the centre shade all over my lid with a flat shadow brush.
- Then I'm applying the palette's bottom shade - a dark brownish gold - with a fluffy brush to the outer third of my lid, and through my crease.
- I'm also applying this darker colour along my lower lashline, stopping about half way across.
Step Three
Advertised
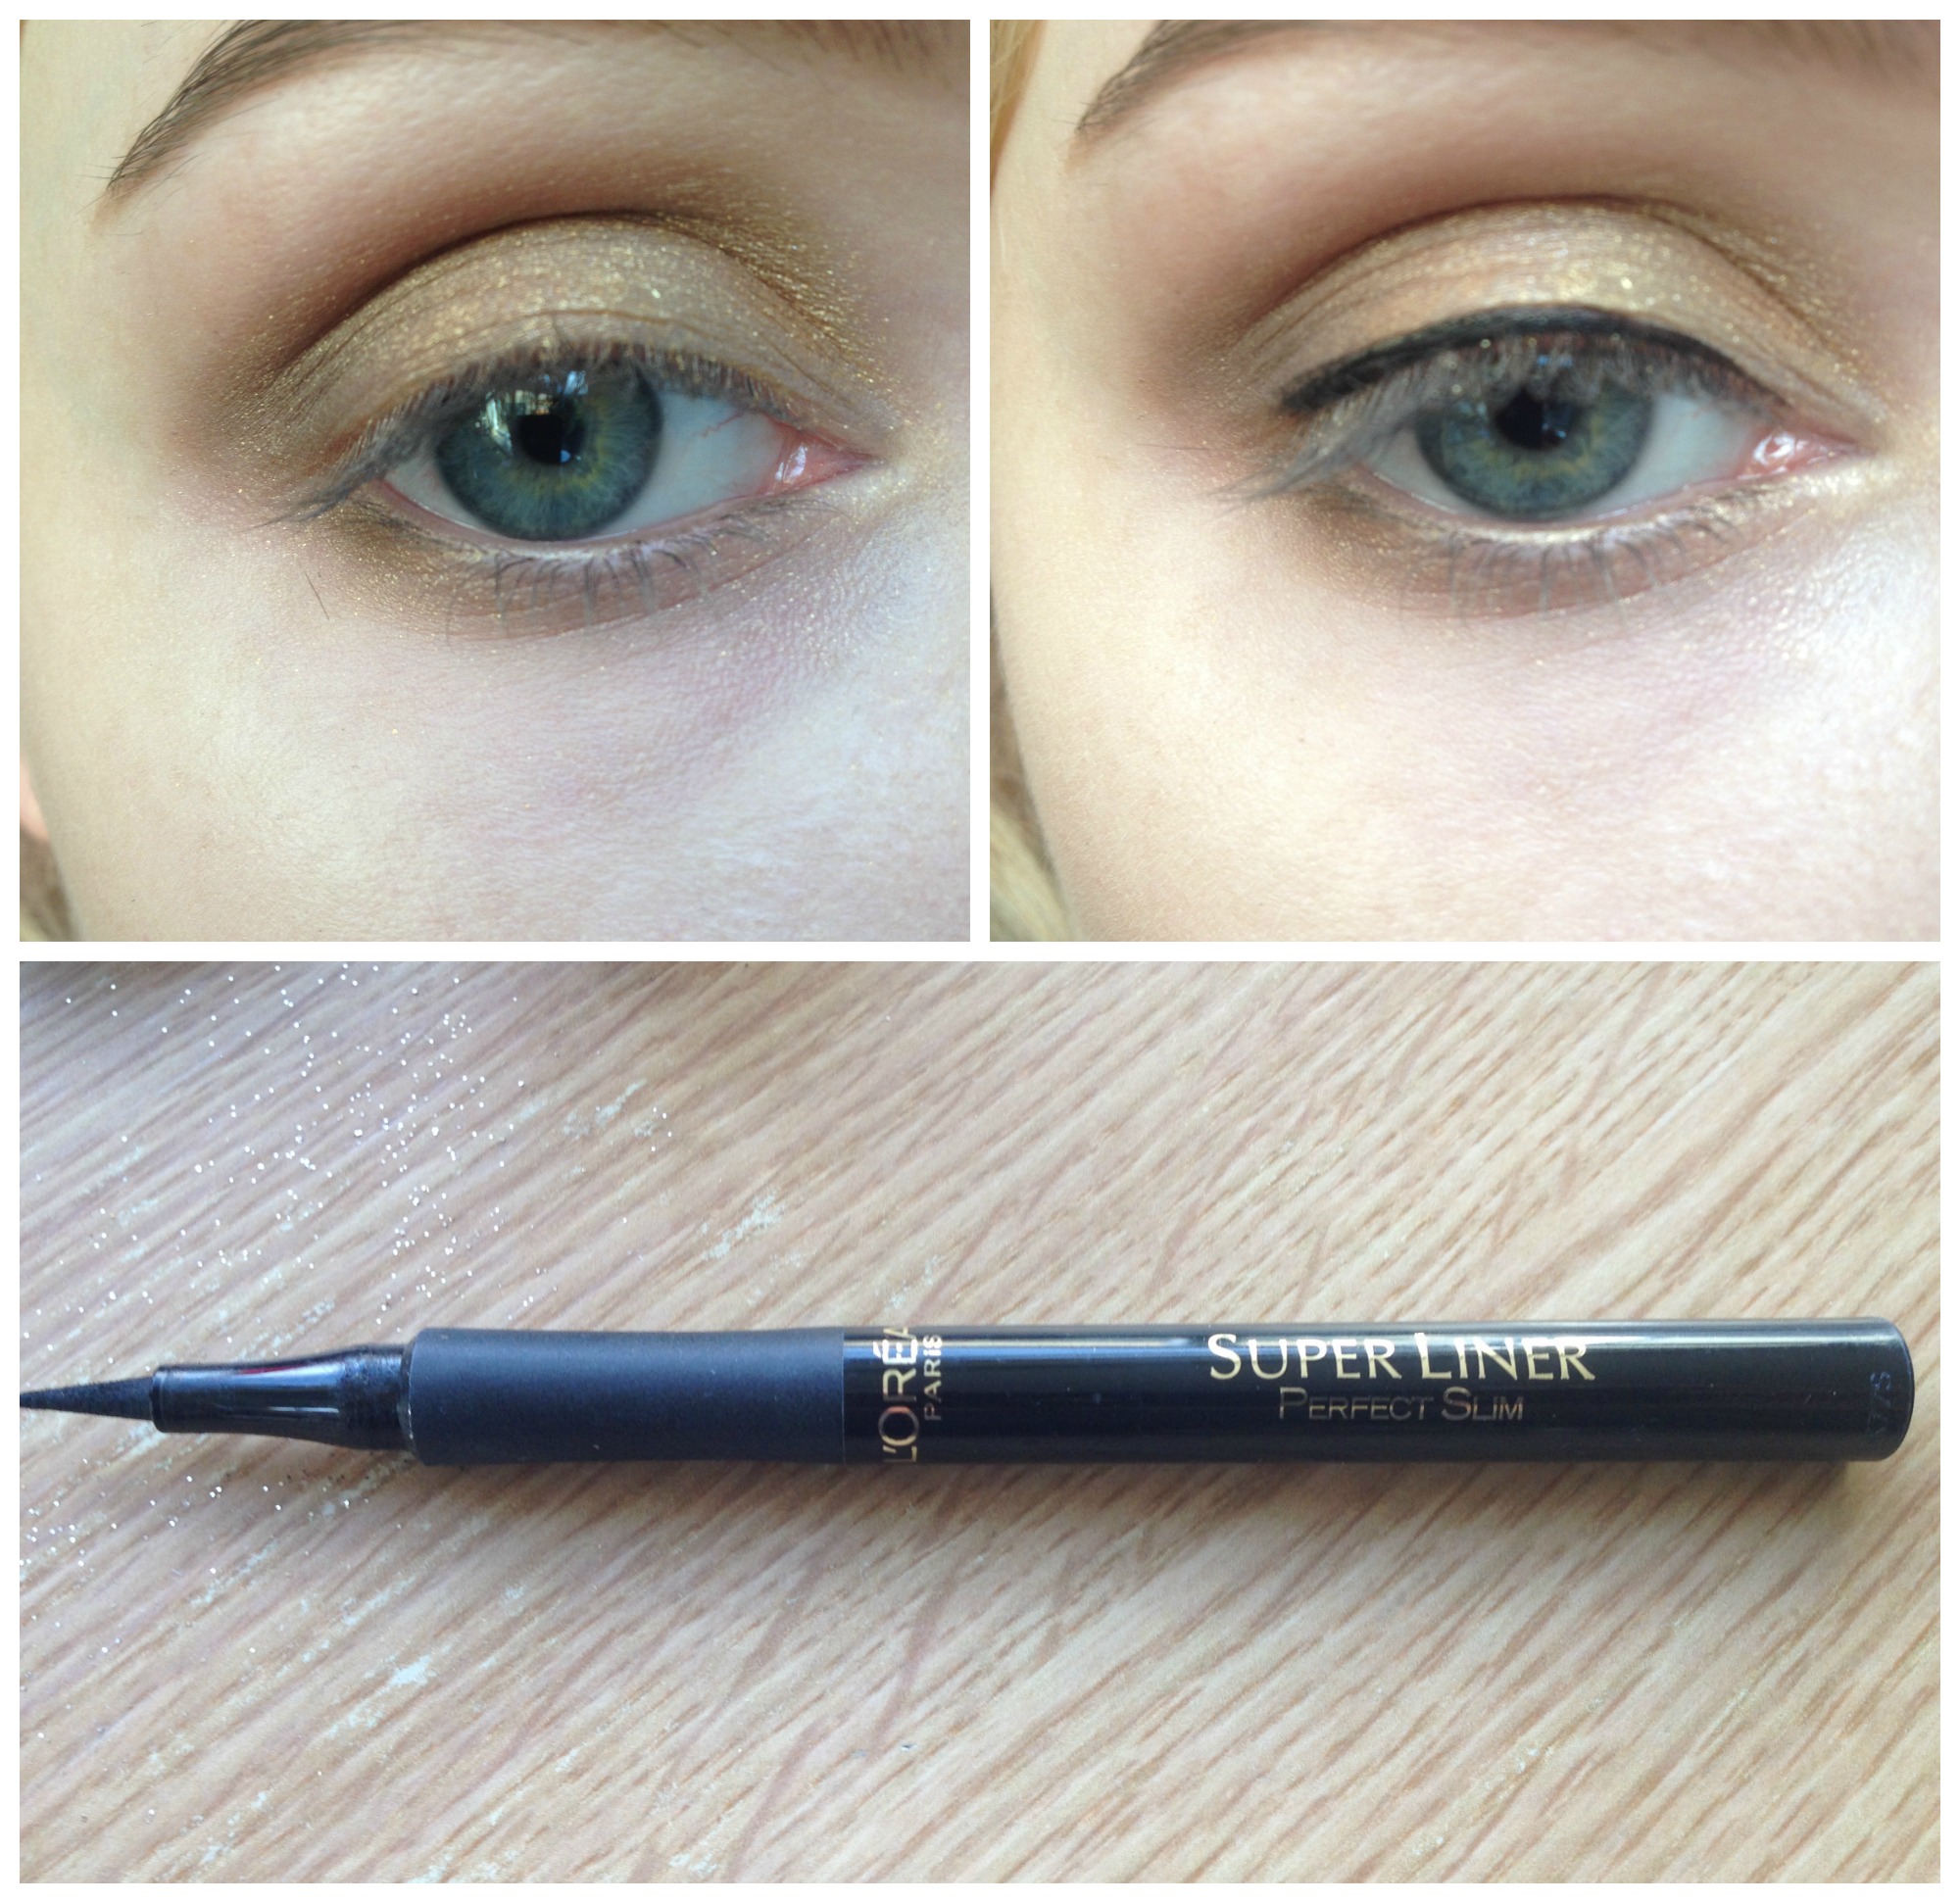
- I've taken my Powersurge pencil again and applied it to my lower waterline, just to increase the overall effect.
- Next, I take a liquid eyeliner - I'm using L'oréal's Super Liner in black, and lining my upper lashline. I'm doing this the lazy way; just turning the liner sideways, and with the side of the nib, patting a thin black line along the lashline and stopping at the outer corner where your lashes naturally stop. I'm not extending the line out as that would elongate the eye. I'm going for a rounder look.
Step Four
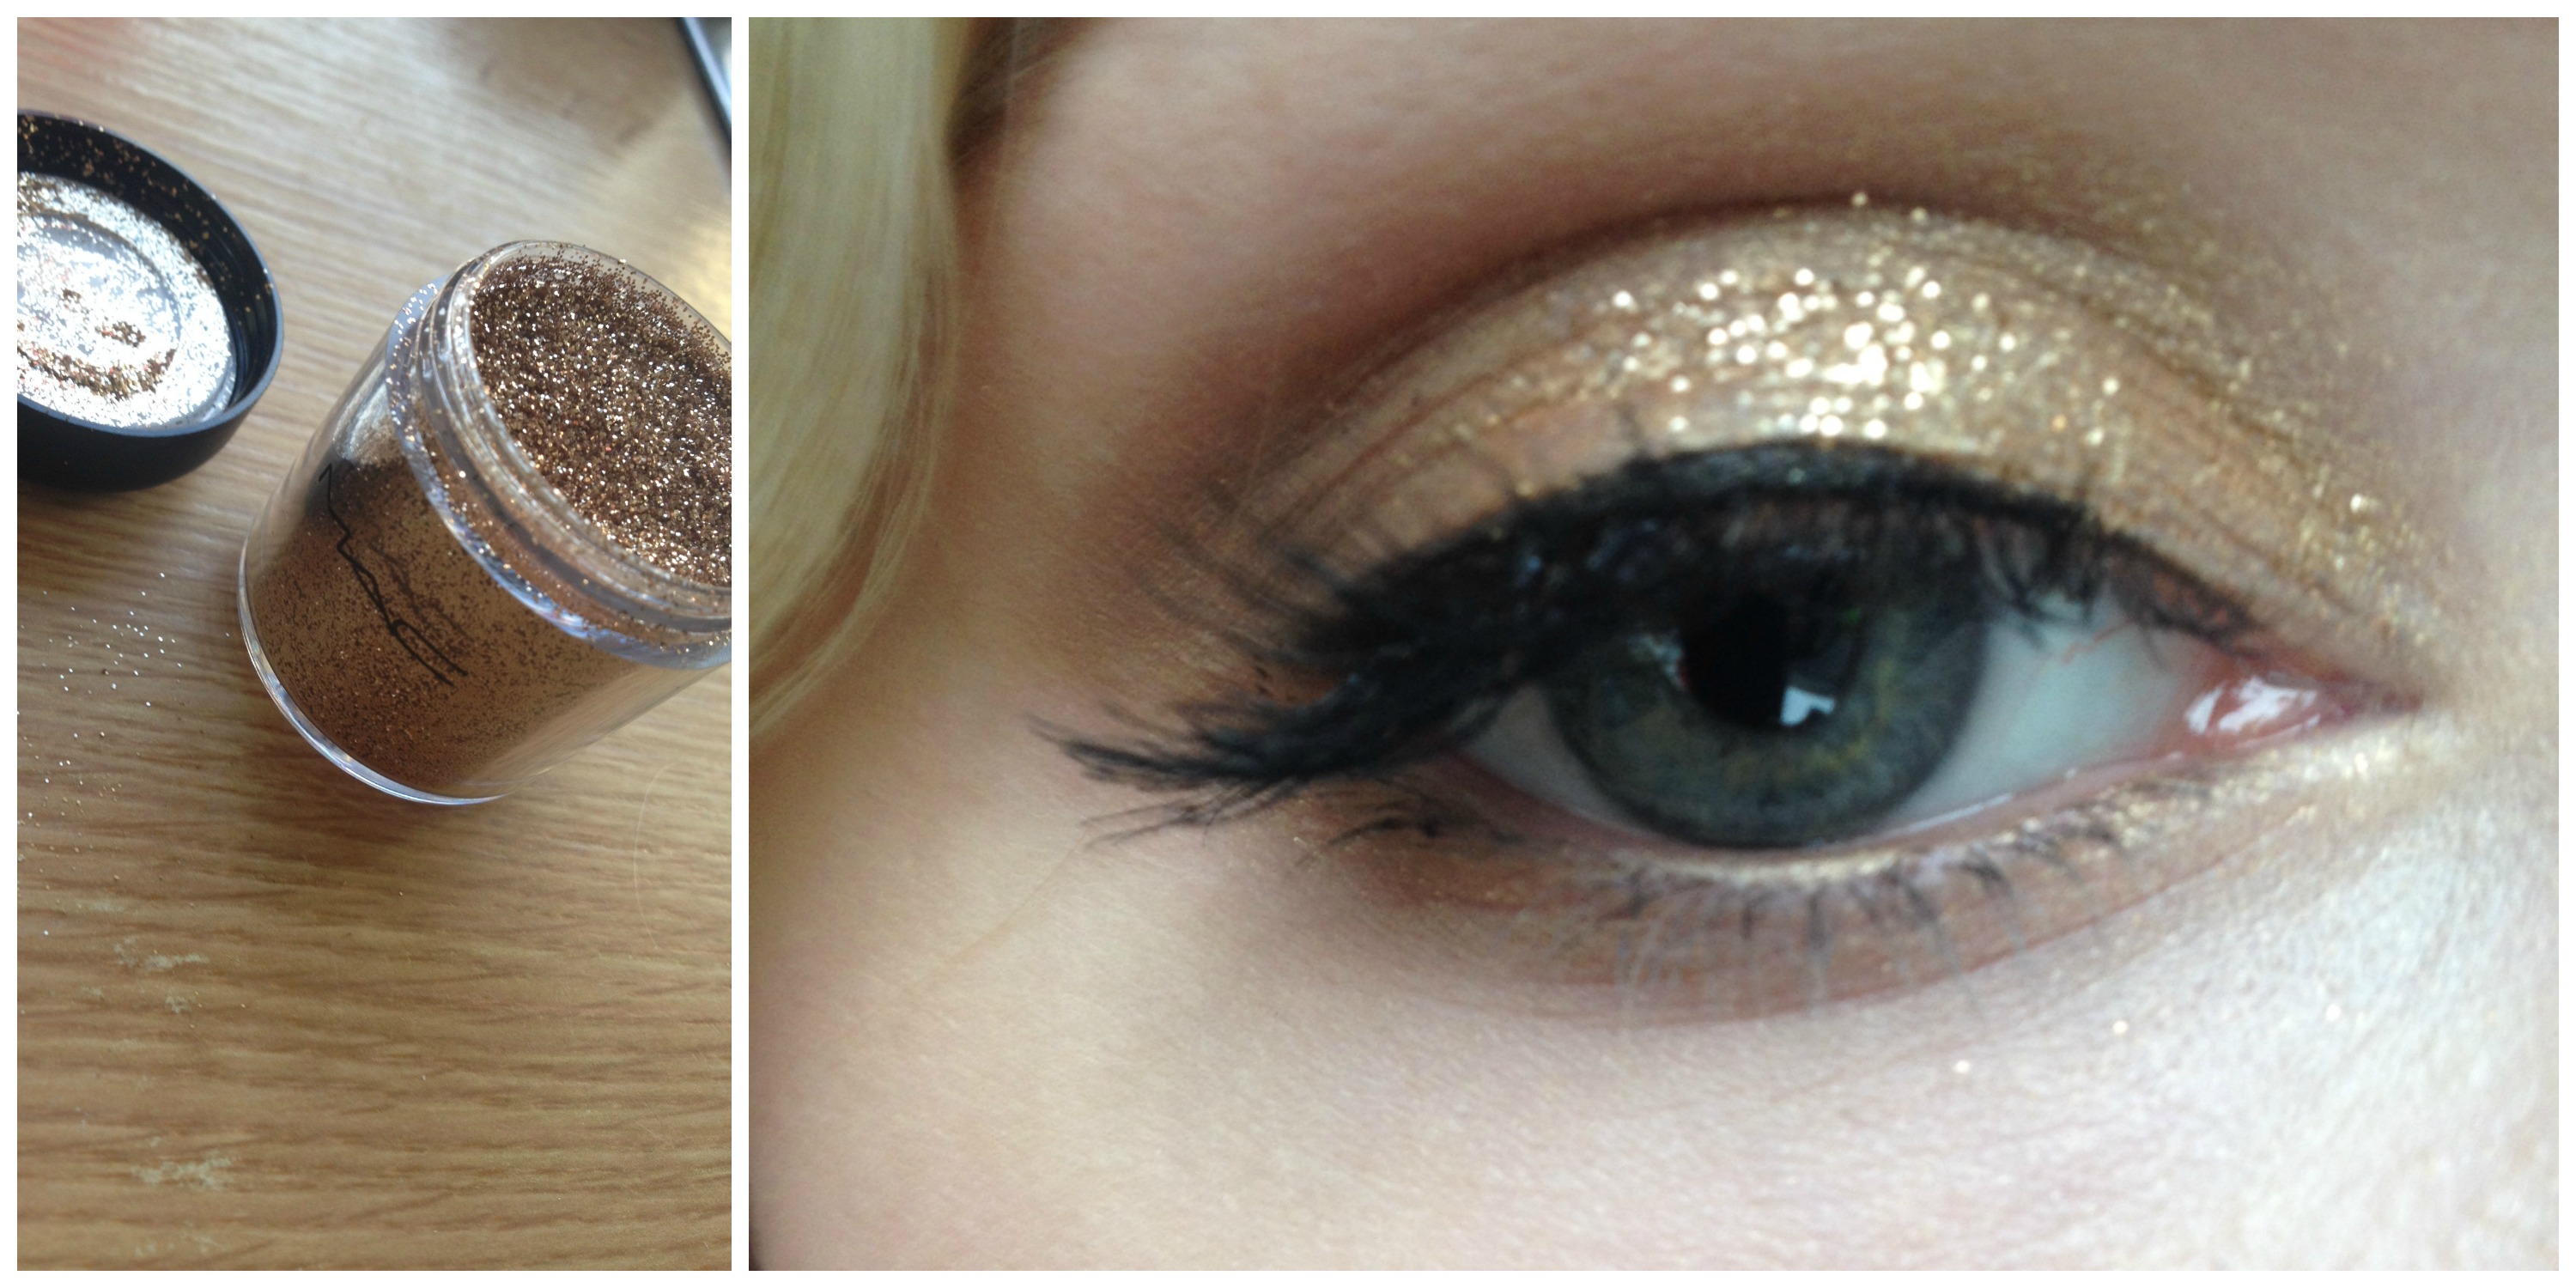
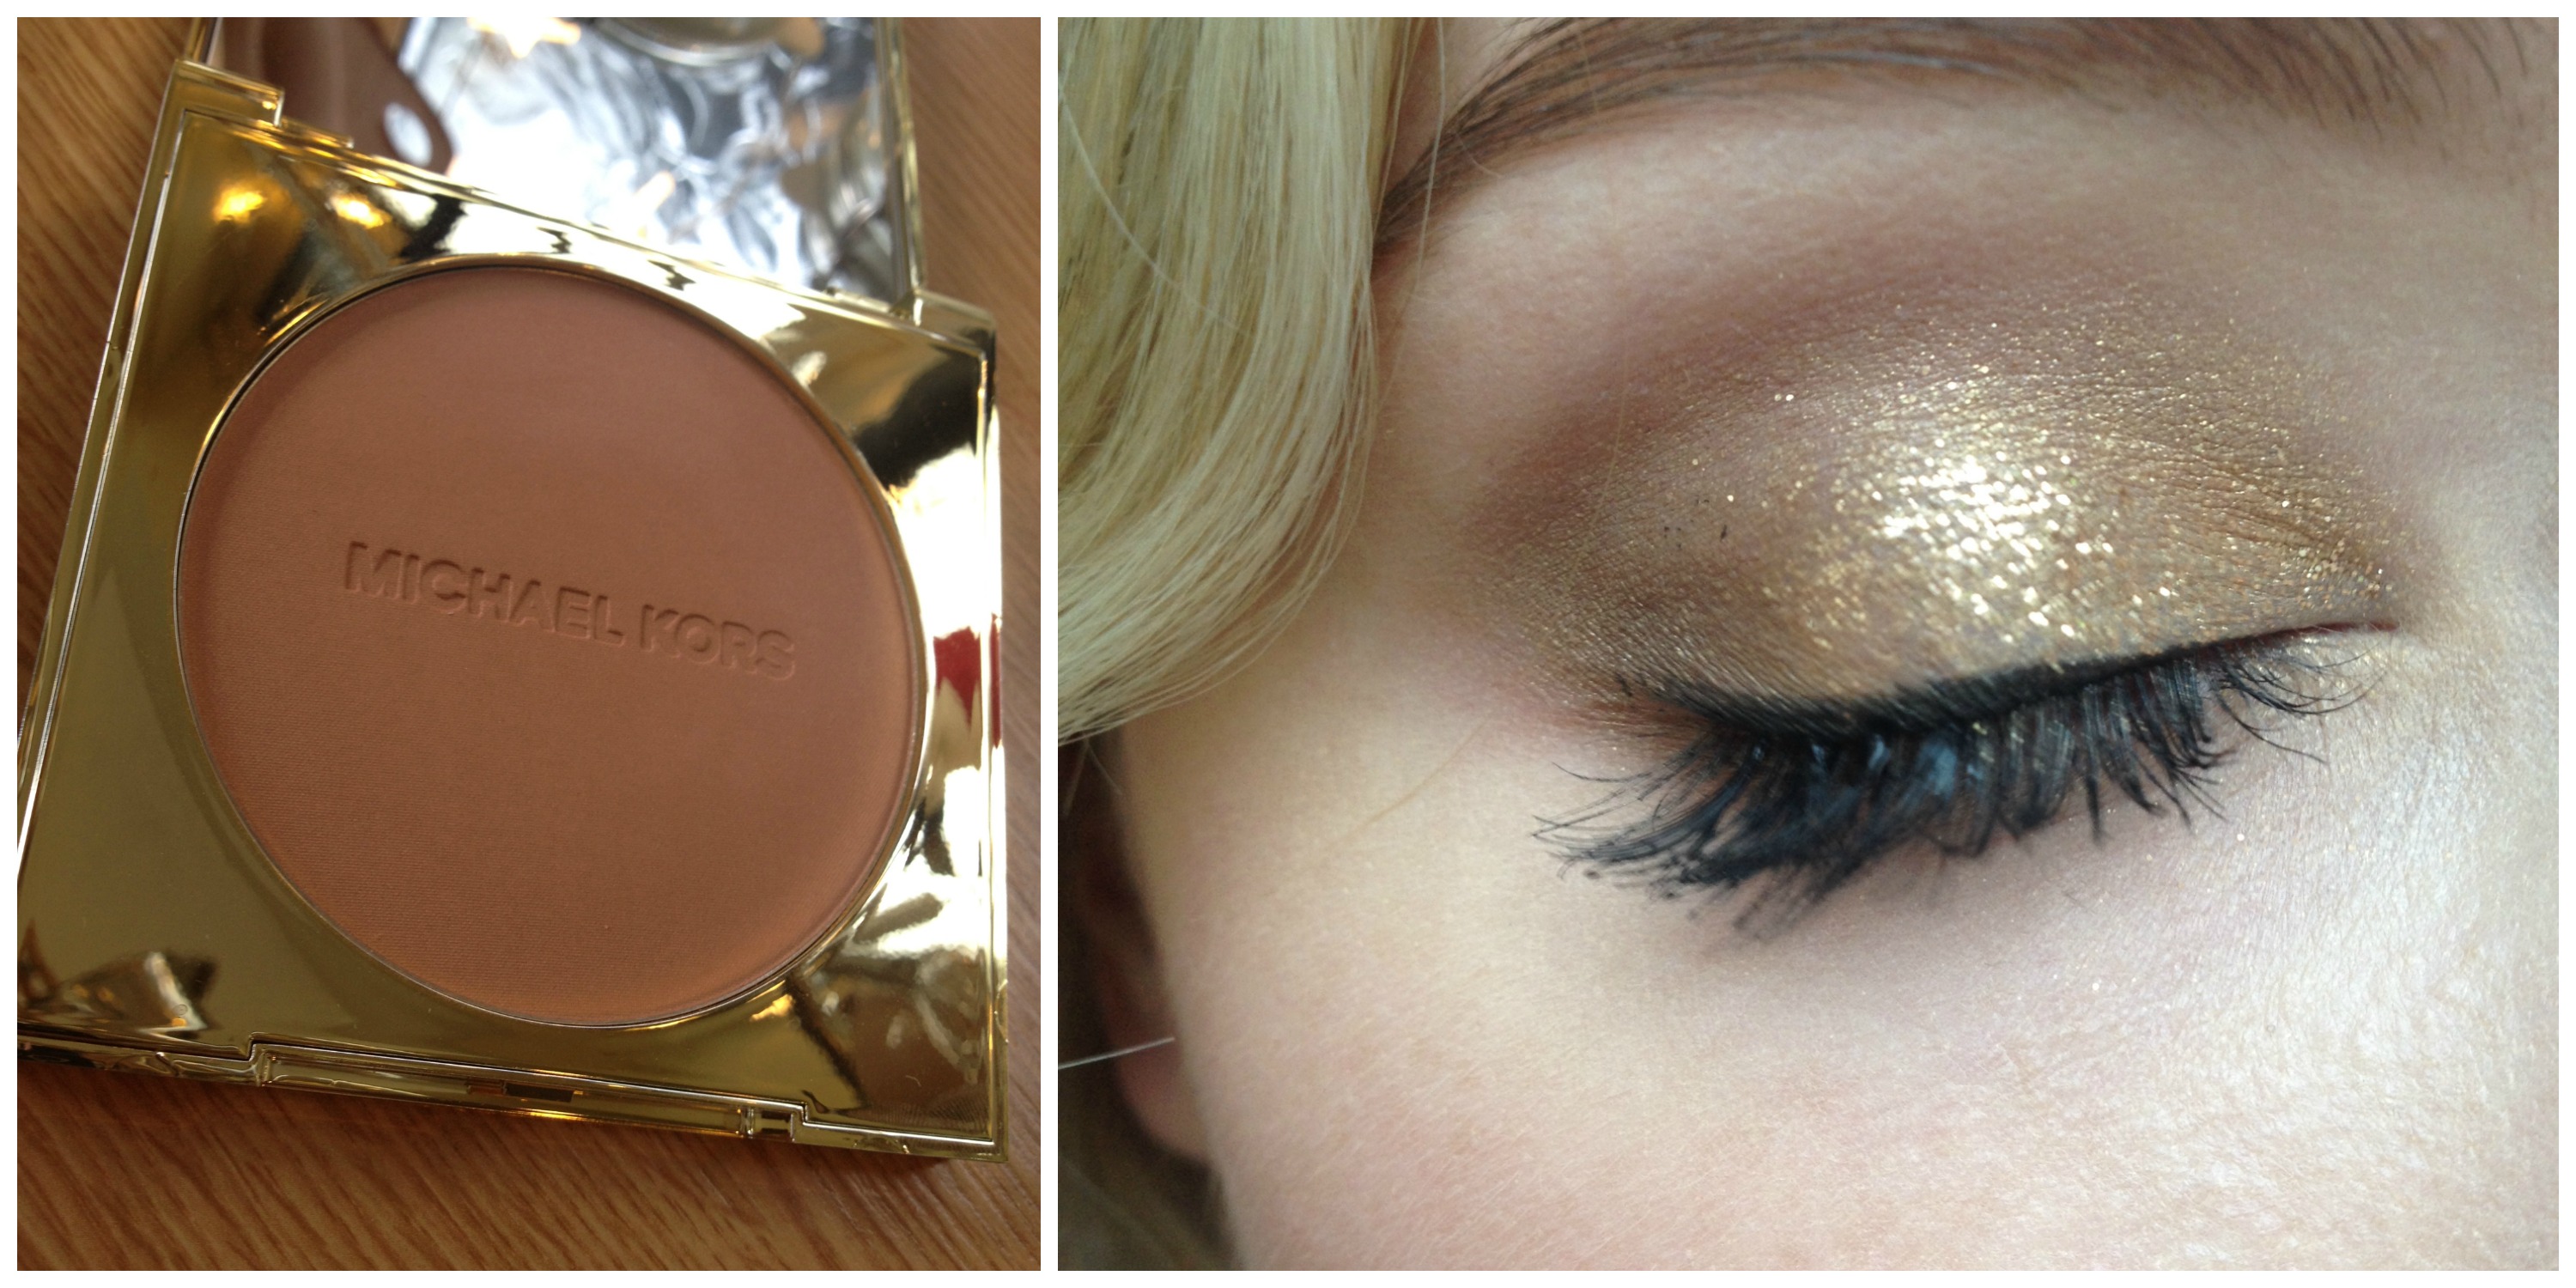
- Next, I'm whipping out the glitter! I'm using Mac Loose Glitter in Gold. To apply this, I'm simply dabbing some lip balm onto my eyelid - from the inner corner to the centre of the lid. Then apply the glitter to the balmed area of the lid with a clean fingertip. To avoid falldown, apply the glitter in very thin layers - stop when you're happy with how it looks. We're not going for a full-on glittery eye like last week. We just want the centre of the lid to catch the light and look beautiful when you look down or close your eyes!.
- Apply a couple of generous coats of your favourite black mascara.
Step Five
- A glittery eye is nothing without lashes, so I'm applying four Ardell individual lashes in Medium to each eye; working from the outer corner in. They'll add volume and drama without my feeling any weight on my eye.
- To complete the look, I want to contrast the roundess of my eye by contouring my face. I'm using some Michael Kors Bronze powder in Glow. I'm taking it under my cheekbones with a fluffy brush, then dusting what's left on the brush along my hairline and temples.
- I'm then applying a dash of pink blush to the apple of my cheeks. I'm using my ultimate favourite - Mac's Well Dressed.
- If I were wearing this to a Christmas party, then I know I'd be stuffing my face all night, so I don't want a fussy lip that I'll have to be touching up! I'm just banging on some No. 7 BB lips in Ballerina to give the lip a subtle shine and sculpted look.
Advertised
What do you think of the gilded eye? Will you be trying it out over Christmas?

