

Promoted Style
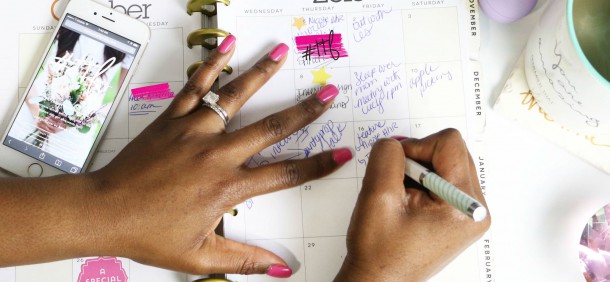
Having perfectly groomed nails is a simple pleasure in life, made even better when you've done them all by yourself. There are so many tools and different types of polish to help you achieve a flawless DIY manicure and creating that mani in the comfort of your own home is fun and even relaxing.
However, niggly and annoying and downright rage-inducing issues can arise when you're trying to give your nails the makeover they deserve all by yourself. Luckily, nail expert Pamela Laird has compiled her ten foolproof tips to make the entire process the satisfying one it should be.
- Keep a lip/paint brush on hand
I always keep a lip or paint brush close by so after I finish painting the nails I can go back and tidy up any mistakes! Just dip your brush into some polish remover, dab off the excess on some dry tissue and work around the nail to clean up your paint job.
- Never skip your base coat
This is my number one for getting the perfect application. Your base coat will smooth over any unevenness on the nail plate. This will stop your polish looking patchy and will hold your colour in place so you'll need to use less varnish. Diamond Shine by Sally Hansen dries to a low gloss which will grip your polish. As a bonus, this product can be then used as a Top Coat too.
- Hold your brush at an angle
It's important to hold the nail polish brush at a 90 degree angle when painting the nail. This way your brush won't drag your polish off the nail plate as you apply.
- No nail polish remover? No problem
If you run out of nail polish remover and you need to get your old colour off, apply a thick coat of colour over the top and quickly wipe off with some cotton. This should remove your old polish from underneath too!
- Foolproof DIY French mani
This is where your lip brush and polish remover will come in handy again. Painting a French tip can be tricky to do yourself at home; an easy way is to paint a coat of white on the tips of your nails. There's no need to be neat, just make sure you apply further in on the nail then you want it to be. Once you've done all ten, dip your polish in some remover and dab off the excess on a tissue. Then, place your brush behind the white tip and use circular motions to clean out a perfect smile line. Finish off the mani with Sally's 3D Gel Shine Top Coat.
- At-home nail design
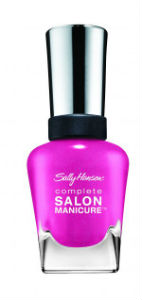
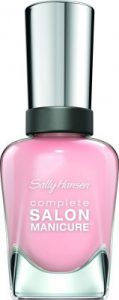
A great DIY nail design is marbling. Get a mug of room temperature water. Choose your nail polish shades; I suggest Sally Hansen Complete Salon Manicure shades in Hats off to Hue, Back to the Fuchsia and Arm Candy.
Advertised
- Hats off to Hue

- Back to the Fuchsia
- Arm Candy
Start with the darkest shade first and place a drop into the water, then add a drop of your second colour and then a drop of your third colour. Repeat these steps 2/3 times. Use a toothpick to create the design you want; anything goes with marbling! Then dip your finger straight into the design in the water. Repeat steps for each nail.
- Quick dry
Most people don't know that nail polish drying is a chemical reaction that happens when the solvent evaporates from the polish. So, blowing on your nails doesn't work to dry them (sorry!). Instead, apply one coat of Insta Dri Top Coat (which dries in 30 seconds) to all ten nails, then lash on Vitamin E Cuticle Oil all over the nails. The oil traps the oxygen, speeding up the chemical reaction making your nails dry quicker. No cuticle oil? Try olive oil.
- The perfect sparkle
Sometimes large glitter polishes don't apply as they look in the bottle! Paint your nails with two coats of Double Duty - which you can also use as a top coat as well - this is what will help you get it off nice and easy after, pour out your glitter polish onto a plate, and using the tip of a pen, pick up the chunky glitter pieces and place them on your nails the way you want them to look. Then just seal in place with a topcoat.
- The perfect polish finish
To get the perfect paint finish at home, make sure you have enough but not too much polish on your brush. The slower you remove the brush from the polish bottle the less you'll have on your brush, so the faster you remove it, the more you'll have. If you use the edge of the bottle and remove the brush to one side, you will be able to control and see how much polish is on the end of your brush.
When applying, place the brush in the centre of the nail roughly 1 - 2 mm away from the cuticle so you don't flood the skin around the nail, then gently push towards the cuticle. It helps to have a polish with a round brush; try Sally Hansen Miracle Gel Polish.
- Line designs
Use some good old fashioned scotch tape to draw perfectly straight line designs on your nails. Cut to size and length and apply to the nail. Don't forget to leave a little extra tape on one end for easy removal. Make sure your first coat is dry and paint the area you want and give it 30 seconds to dry. Using a tweezers gently peel away the scotch tape for perfect lines! Try Insta Dri Top Coat, which dries in an incredible 30 seconds, to lock in the design.
Advertised
See more tips, tricks and sound advice at the Beaut.ie x Sally Hansen Nail Clinic

