

Contouring and highlighting are crazes that are going nowhere fast, but they are difficult techniques to nail. Now, here's your chance to finally understand how to contour and highlight like a pro.
I'm going to give you a run down of what products I used in this video, so if you have them or something similar, grab them and we can do it together.
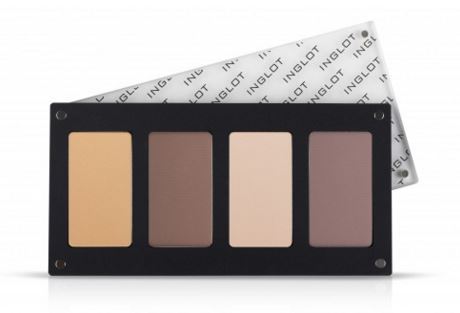
What you will need:
Inglot Contouring Palette
MAC 138 Tapered Face Brush

Advertised
Method:
(The video is quite fast and is just a guide, so depending on demand, I can do a slower and more detailed one for you.)
Take the second darkest colour in the palette. Tilt your head down towards your chest, this will give you a better idea of where your natural cheek bone is. Start at the top of the ear, and bring the brush down towards the lip. Continue this under the jawline and right down the neck (this is a great trick to make you look a good stone lighter). You can also apply the contour around the temple and forehead. Ideally, you are trying to make your face look more oval, so always keep that in mind.
Continue buffing in and adding colour until you are happy with the result.
NOTE: It's so important to colour match your contour colour properly. If it is too dark, light orange or ashy it's going to look bad. The rule of thumb is to go two shades darker than your own skin tone and keep to the correct tone. If you have a cool skin tone use a cool tone contour colour, if your skin tone is warm, stick with warm.
Also, make sure your skin is powdered extremely well before you ever think about contouring. If it isn't, you will end up with a patchy or dirty looking face.
Next, you are going to take the lightest colour (please note it is a matte shadow not shimmery), you can use the same brush but make sure you clean it off on the back of a kitchen towel. Start highlighting above and below the contour, so under the cheek bone, on top of the cheek-bone, and down the centre of the face, forehead, nose, upper lip and chin.
And it's as easy as that! Give it a go yourself at home, and comment in the box below if you're having specific problems. I can then address them in my upcoming longer video.
Hope you like it, and please let us know what videos you would like to see in the future.
Advertised

